Install Wagtail on shared hosting server
eeintech Wagtail May 24, 2020 (Updated on March 8, 2021)
If you have not installed Django or Wagtail before on a shared hosting server (with no root access), there are extra steps to the installation process which can make it difficult the first time around. The main difference is that you cannot use the built-in Django server (eg. python manage.py runserver) to run your website (furthermore, it is not recommended for production). To get Django and Wagtail to serve your website, you'll need to use a "middle-man" which translates traditional server requests into Django/Wagtail requests. On shared hosting servers using cPanel, this middle-man is Phusion Passenger.
If you have already installed Django 3 and it is running smoothly on your shared hosting server then it is pretty much a similar process to install Wagtail, you could actually head straight to Wagtail's documentation and be able to work your way through the installation process, knowing the extra steps needed to get the Wagtail website up and running.
However, if you have not done so before, I wrote this guide to help you out and make your life easier. Let's do it!
Note: I'll be using cPanel to setup the Python environment and I show the method here, yours may differ.
1/ In cPanel, each Python environment is associated with a domain or sub-domain. Make sure your domain is attached to your account or that you have created a sub-domain to welcome your web application.
2/ In the cPanel search bar, enter "python" and hit Enter. You'll land on the Python Web Applications page where you can create virtual environments for your web application developed in Python and automatically link them to Phusion Passenger's web server.
3/ To create a new virtual environment, click on "Create Application" on the right-hand side: the following form will appear. Check out the instructions below to fill it out.


| (1) | Select the Python version used for the virtual environment, I recommend using the latest version (currently: 3.7.3) |
| (2) | Enter the name of the folder associated to your domain or subdomain that will be used to store the files of your web application |
| (3) | Select the domain or subdomain used for this web application. You can also append a url location (optional) like www.domain.com/wagtail |
| (4) | Those 2 fields are for the Phusion Passenger application which will run your web application. Leave those blank (they will be automatically populated) |
| (5) | Enter the file name and path to the Phusion Passenger log file, it will be handy to know its location to check the status of your application (replace "user" with your username) |
Once complete, click on the "Create" button. cPanel will automatically create your Python virtual environment and link it to Passenger.
4/ Access your server with SSH using your favorite Terminal or the one built-in cPanel (type "terminal" in top search bar).
Activate your virtual environment with the following command:
$ source /home/user/virtualenv/name-of-env/3.7/bin/activateReplace "user" with your server username and "name-of-env" with the name you put in the previous form (item 2).
Navigate to your web application folder:
(name-of-env) $ cd /home/user/name-of-folder5/ Now we can install Wagtail and get it up and running in your environment. Start by upgrading pip if you haven't done it yet:
(name-of-env) $ pip install --upgrade pipThen install Wagtail:
(name-of-env) $ pip install wagtailOnce installed, start a project (replace "project" with your own name):
(name-of-env) $ wagtail start project
Creating a Wagtail project called project
Success! project has been created
Navigate to project folder then run migrations:
(name-of-env) $ cd project
(name-of-env) $ python manage.py migrate
If the step above does not work and returns a SQLite version error, you'll need to use a newer SQLite version. It is not a straightforward installation but do not worry, I got you covered: read through the SQLite lastest version installation guide and come back right here.
If you did not get any error and the migrations have been applied without any error, congratulation Wagtail is ready for use on your server!
6/ The last steps are the following:
- Create a superuser (= admin) to log in the admin section of Wagtail
- Update the file used by Passenger as an entry point to your new project
To create an admin in Wagtail, execute the following command:
(name-of-env) $ python manage.py createsuperuserEnter a username, email address and password (twice). That's it for the admin part.
Now we're going to tell Passenger where your new application is so that it can load it and display Wagtail's demo page at the URL you specified in the Python application settings (from step 3). But before that, we'll actually check that Passenger is running fine on your server.
Navigate to that URL, do you see the following barebone page?

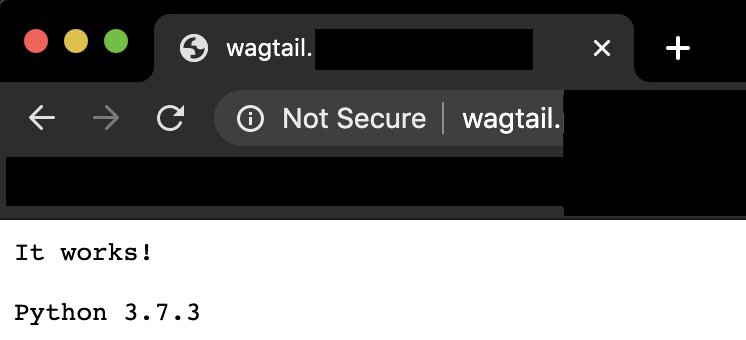
If yes, Passenger is running correctly. If not, you may want to request help from your hosting provider.
Let's navigate back to the root of your web application directory and edit the passenger_wsgi.py file:
(name-of-env) $ cd ..
(name-of-env) $ nano passenger_wsgi.py
Under the sys.path line, add the following line (the second one):
sys.path.insert(0, os.path.dirname(__file__))  # Already in the file, keep it
sys.path.insert(0, 'project')                  # Add this line and replace 'project' with the name of your project
Then, remove all those lines (in nano editor, scroll down to the "def" line and hit Ctrl+K as many times as there are lines to remove):
def application(environ, start_response):
    start_response('200 OK', [('Content-Type', 'text/plain')])
    message = 'It works!\n'
    version = 'Python %s\n' % sys.version.split()[0]
    response = '\n'.join([message, version])
    return [response.encode()]
Add the following lines to replace the ones you've just removed (in nano editor, shortcut for pasting is the same as on your system, eg. Ctrl+V/⌘+V):
import project.wsgi
application = project.wsgi.application
Make sure to replace project with the name of the project used when running the wagtail start project command.
Now save the passenger_wsgi.py file (in nano editor: Ctrl+W) keeping the same name.
Finally, you'll need to restart the Passenger application. To do so, enter "python" in cPanel's top search bar and hit Enter to open the Python Web Applications page. Locate your web application in the list and restart it (counter-clockwise arrow icon).
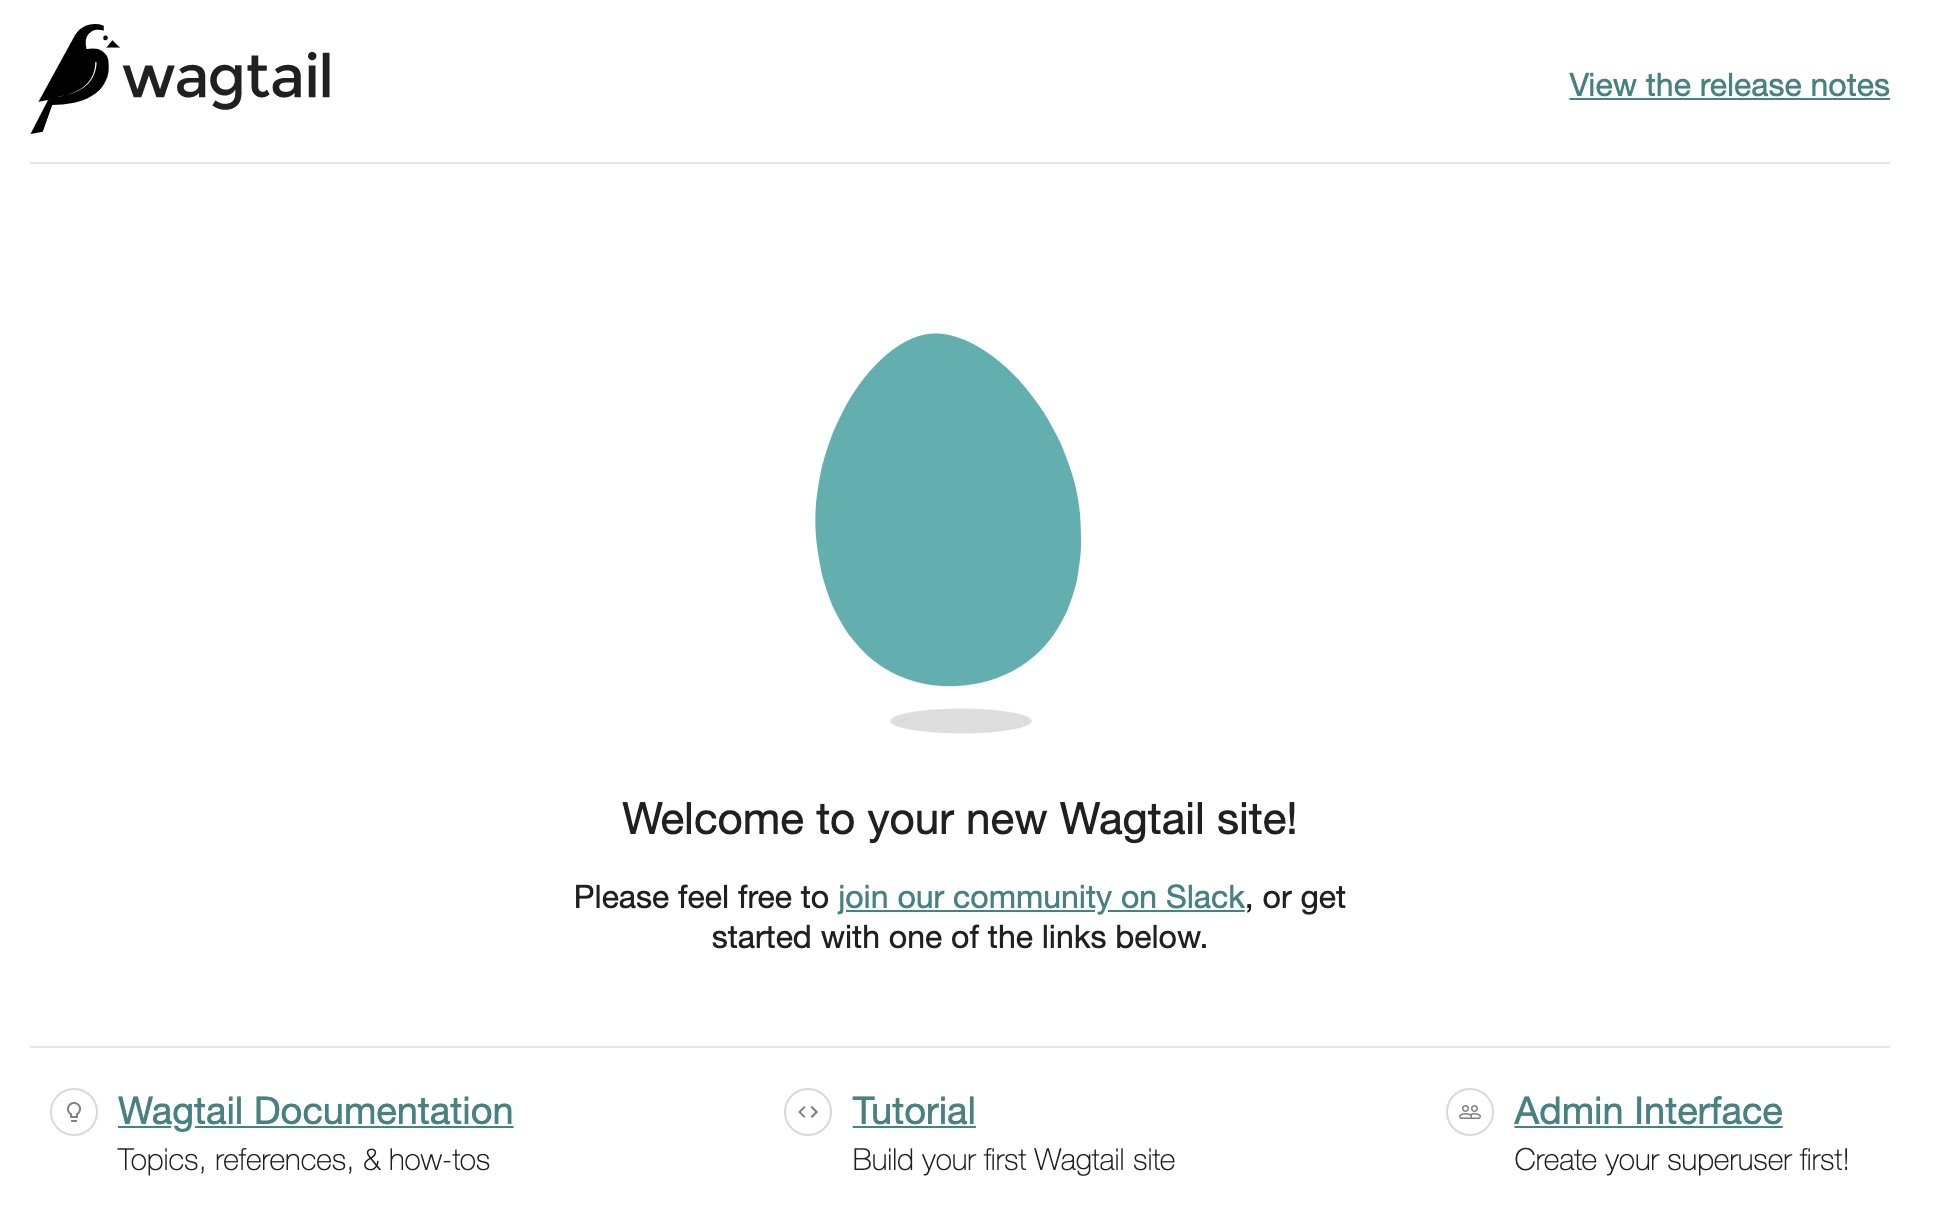
Now navigate to your web application URL: you should see the Wagtail demo website up and running!
You can use and navigate it the same way you would do on your computer (/admin to access Wagtail's admin page and /django-admin to access Django's admin page).